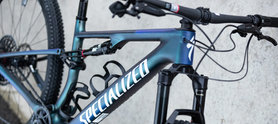


How To: Inspect Your Bike
Ready for the season? We’ll show you how to prepare your bike for the upcoming season and which parts require special attention.
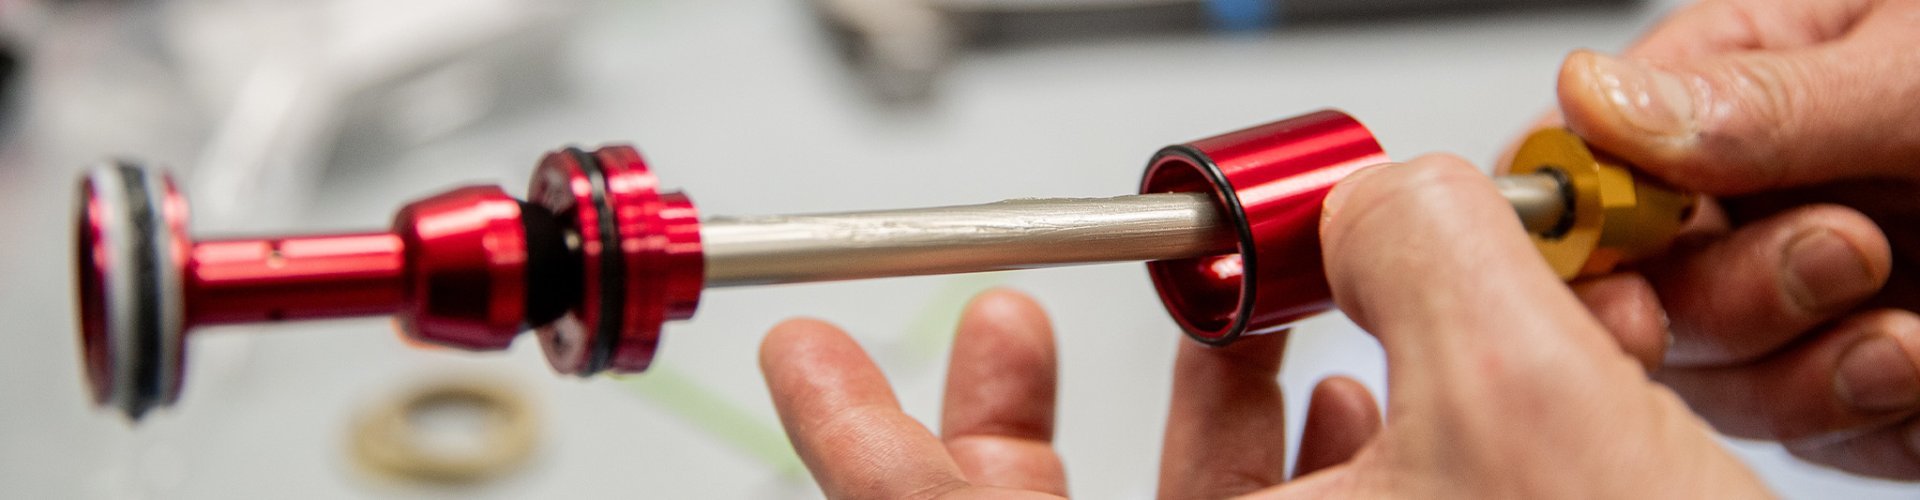
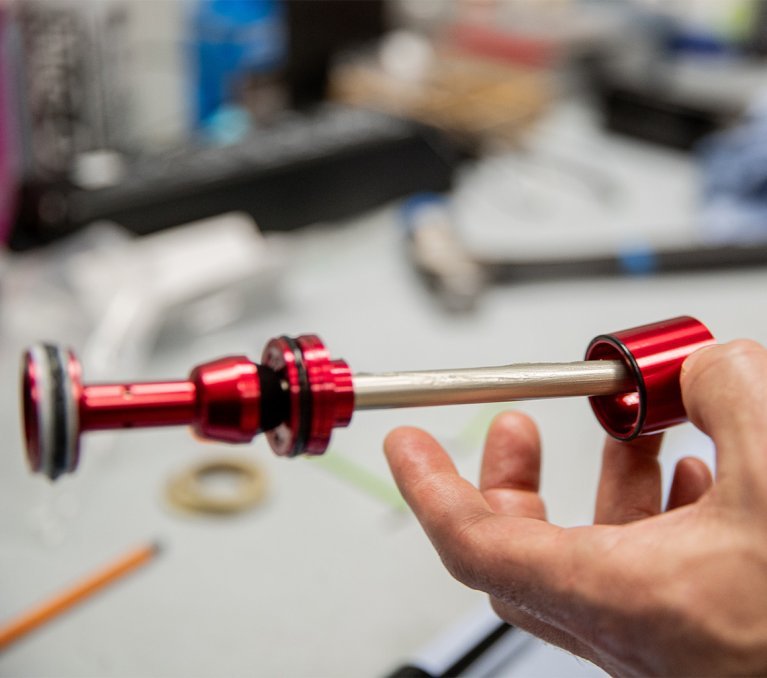
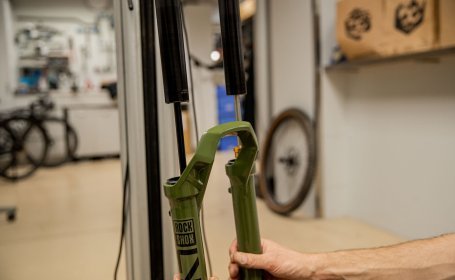
A suspension fork can only show its qualities when the lubrication is right. We'll show you the lower leg service and the air chamber service.
Highspeed-Compression, Ramp-Up Control, Floating Piston, Progressive Coil Spring, Negative Spring, Hydraulic Bottom Out, Air Pressure Bleeder: Everything clear so far? The mountain bike suspension realm is a microcosm of its own, with so many aspects that it feels like you need to do a degree to understand the suspension components.
But no matter what features or alien technologies are in your fork - whether high-end or basic model: It's their core task to filter out bumps as much as possible, to not lose ground contact and to transmit as few shocks as possible to the rider. Both aspects help to maintain control over the bike, to be able to ride at high speeds in tough terrain. At the same time, a sensitive fork prevents premature fatigue, so you can ride longer and faster. However, it can only fulfill these tasks if the friction inside is as low as possible, because only then the wheels can follow the ground quickly and precisely. Too much friction creates inertia in the system. The shocks are passed on more and more to the rider and with poor maintenance, the smooth suspension slowly but surely turns into a stubborn rodeo horse on a mission to throw you off. To avoid this and to keep the performance of your fork always at the best possible level, the most important thing is the regular so-called "small service" or "lower leg service" and the air chamber service. Often, you only notice the gradual performance loss when the fork is freshly serviced, and you feel how sensitively it operates again.
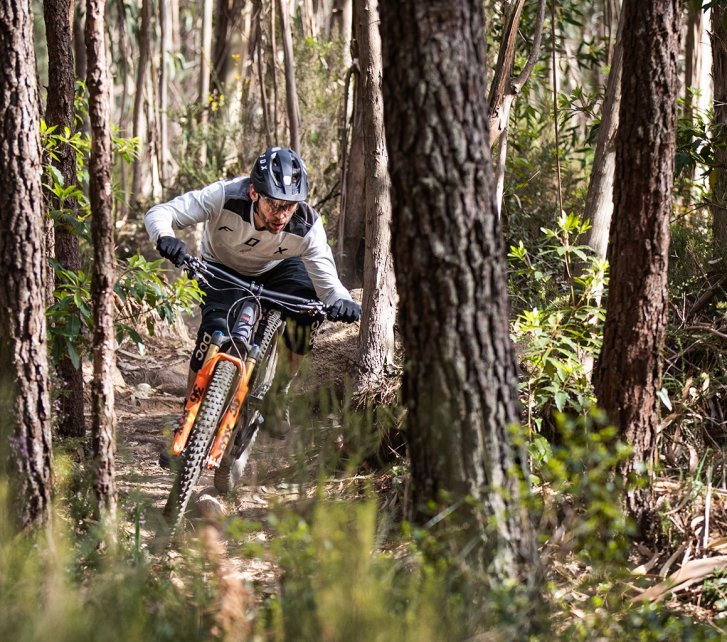
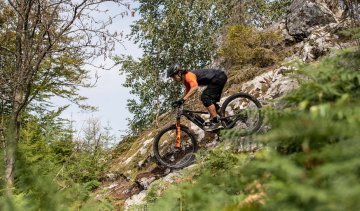
A smooth suspension builds confidence - even when it gets steep.
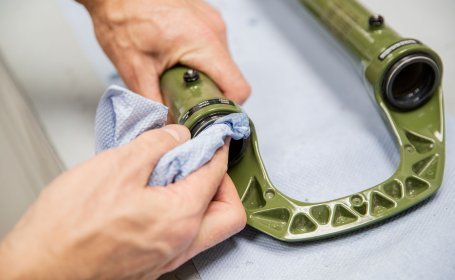
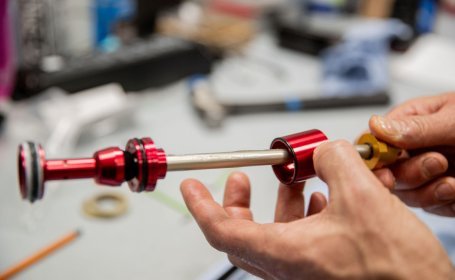
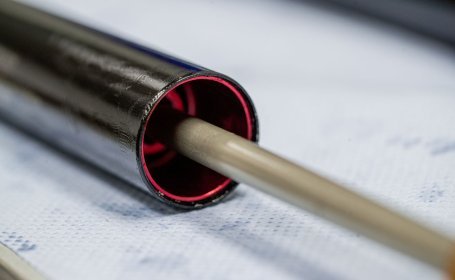
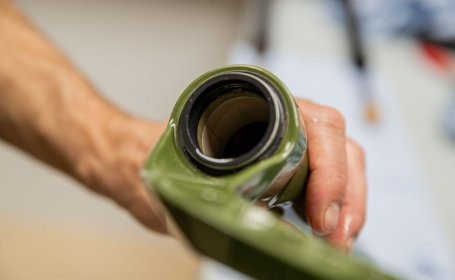
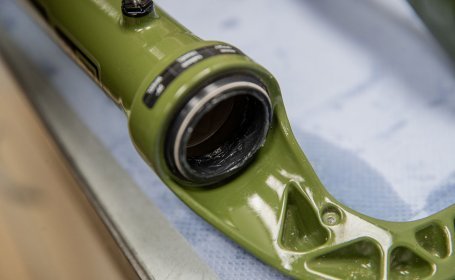
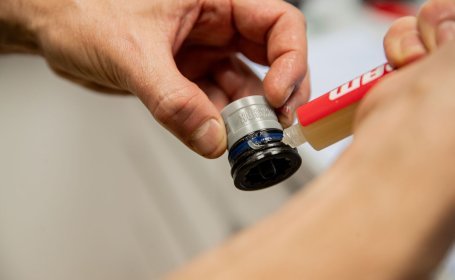
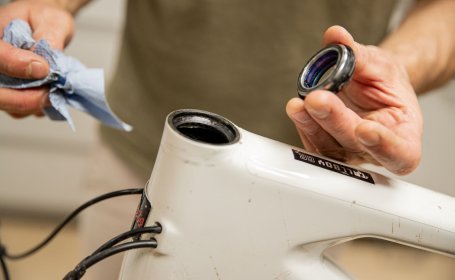
Wherever there is movement between two or more components, friction is created. The greatest losses due to friction occur in the suspension fork at the contact surfaces between the stanchions and main seals, and between the stanchions and the guide bushes in the lower leg unit. Inside the stanchion, on the spring side, there's also the contact surface of the air piston seal to the stanchion, as well as that of the air spring guide rod at the entrance to the stanchion. All these contact surfaces are lubricated, but the lubrication wears out over time. Therefore, we recommend for casual riders, at least once a year and for more ambitious riders, at least twice a year a service. If you are racing at a higher level, it makes sense to service the fork right before the race weekend if you want to get the most performance out of it.
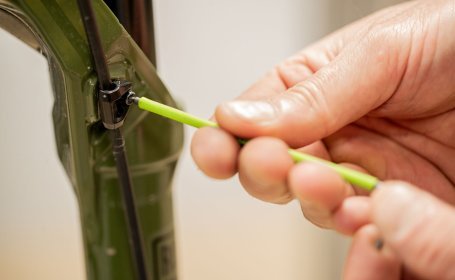
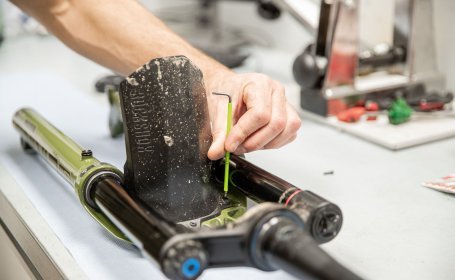
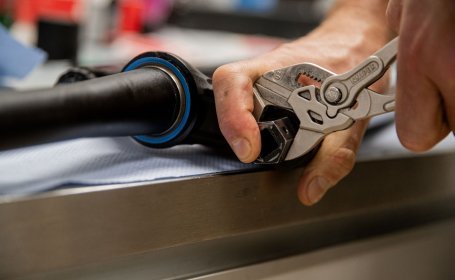
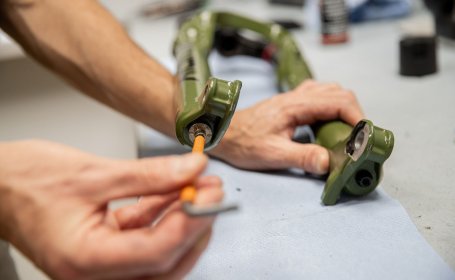
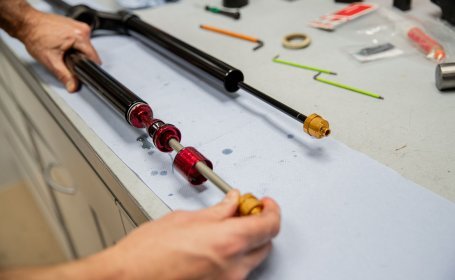
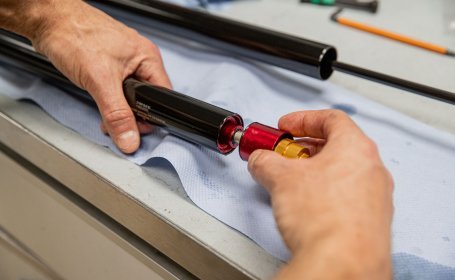
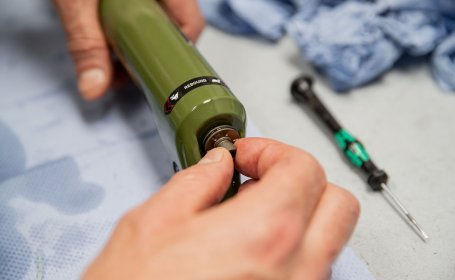
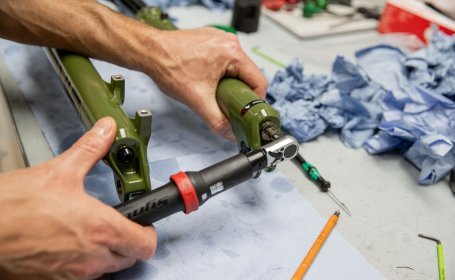
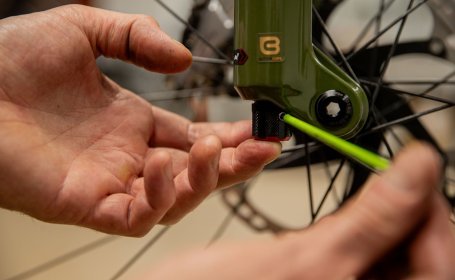
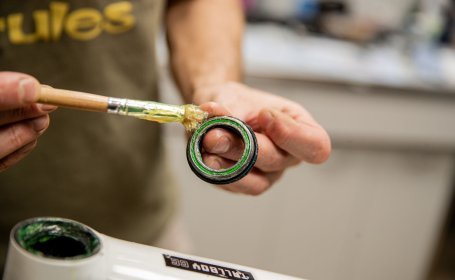
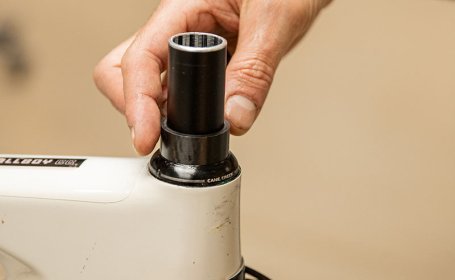
You've probably heard it often: "small service" and "big service". But what exactly is behind that? The small service is the "lower leg service", where only the lubrication in the lower leg unit is renewed. The big service includes maintenance of everything, so the damping unit and the air unit including the replacement of all seals and all lubricants.
The most friction occurs in the lower leg unit, the next factor is the air unit. The damping unit is not as susceptible to service because it is constantly "in oil" and thus the lubrication doesn’t really wear out. Nevertheless, the damping eventually becomes due as air bubbles can form in the oil, affecting the function. We prefer to leave this to the pros, as the damping service can be significantly more complex.
Therefore, our approach to DIY is the "medium service" - that is the lower leg (lower leg) and air chamber. These two areas can also be quite easily done by yourself and have the biggest effect on the performance of your fork.
Flow. A smooth suspension helps you reach that state.
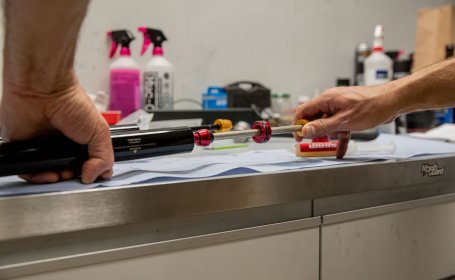
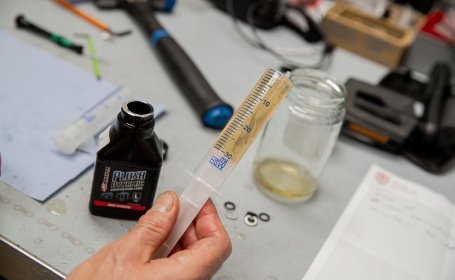
Here are the tools and supplies you'll need for your fork service:
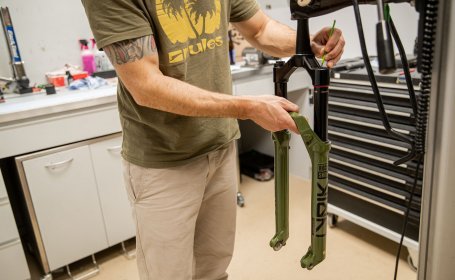
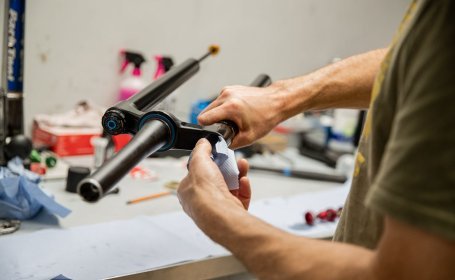
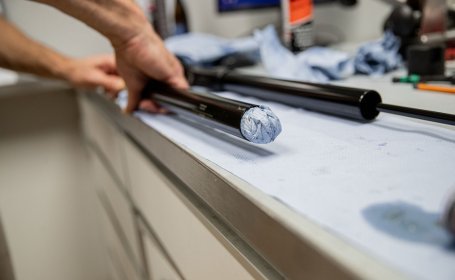
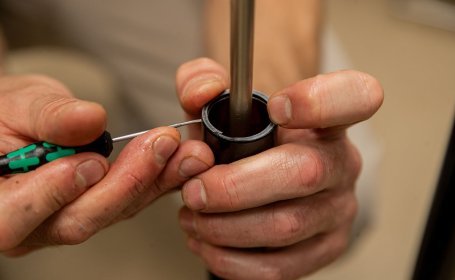
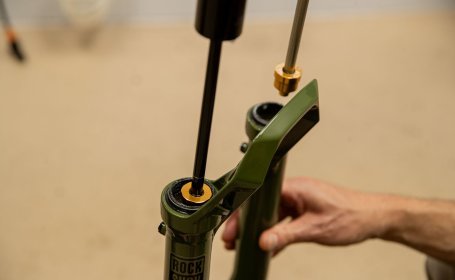
Roll up your sleeves: Let's get started with the fork service!


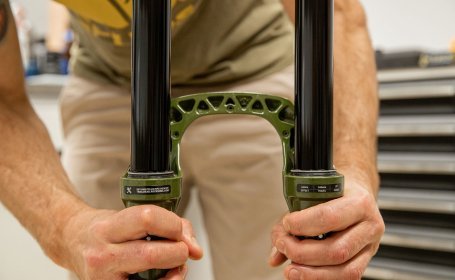


Your fork is now freshly serviced and can deliver its performance back at 100% on the trail, getting you into the flow state. You'll feel it responding more sensitively and quickly, making it better at absorbing shocks, allowing you to focus on speeding up! Let's go!
Ready for the season? We’ll show you how to prepare your bike for the upcoming season and which parts require special attention.
Air fork and coil shock with titanium or steel coils? We’ll go over the characteristics of different spring media for mountain bikes and e-bikes.

In order to fully utilise the potential of your mountain bike suspension, you should know its adjustment options and functions. We’ll explain them all!

Modern MTB suspension systems consist of a spring and a shock. We explain the differences so that you can find your perfect suspension setup more easily.


Send your unused goods back within 100 days after purchase and get your money back!
See more