


How To: Inspect Your Bike
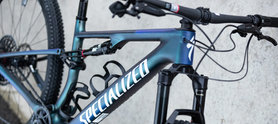
Ready for the season? We’ll show you how to prepare your bike for the upcoming season and which parts require special attention.
A flat tire, rattling gears, snapped chain, broken spokes... No need to despair. We'll show you how to help yourself quickly.
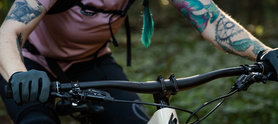
Breakdowns and defects on the trail happen from time to time - for some, they are rare, while others seem to be unlucky. But just in case, it's always good to know how to handle them.
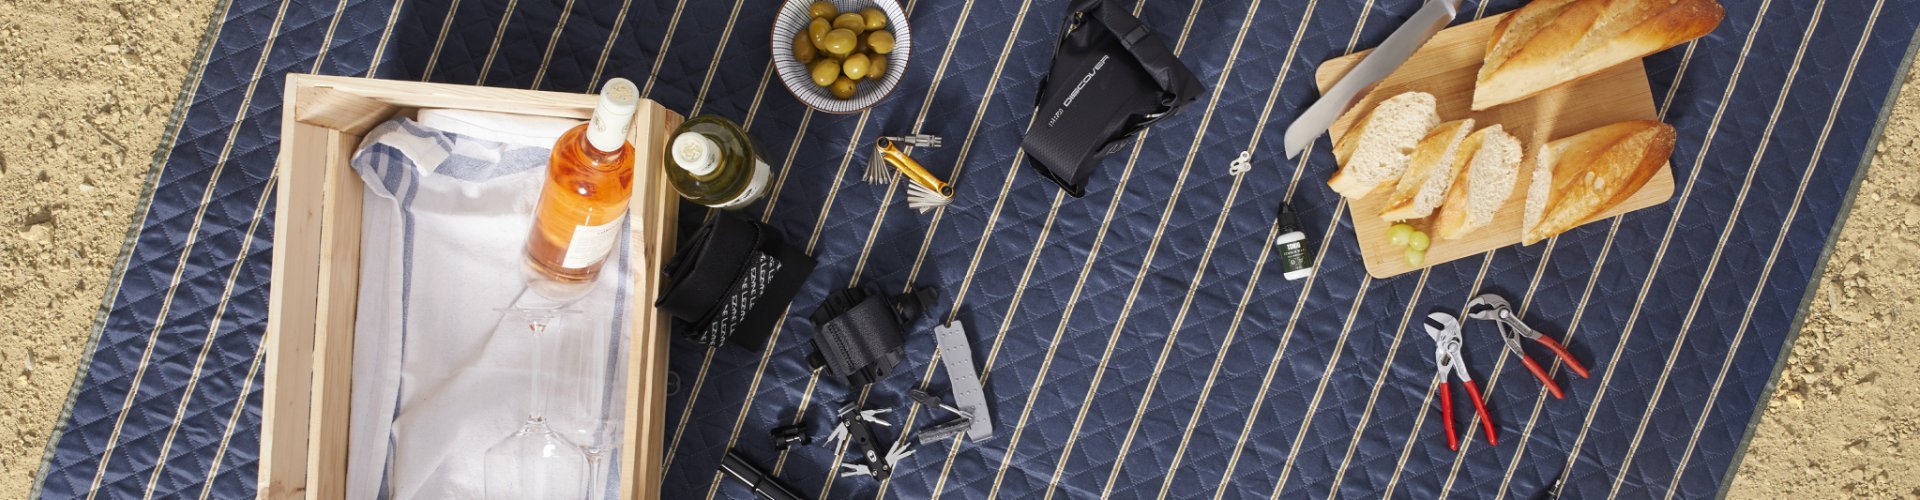
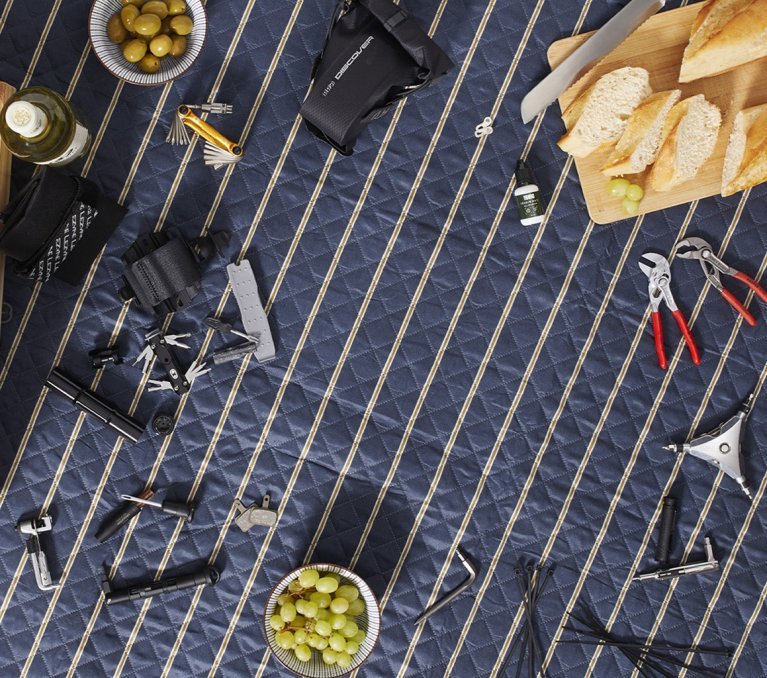
With a few tips and some tools, you can fix the most common issues in the woods and get back on your bike quickly. This way, you'll also be well prepared to offer help to other bikers.
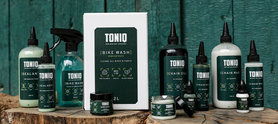
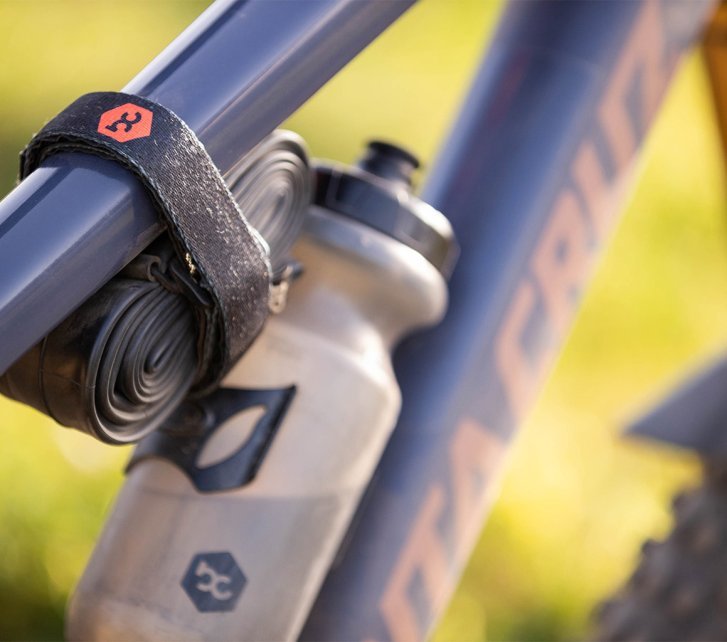
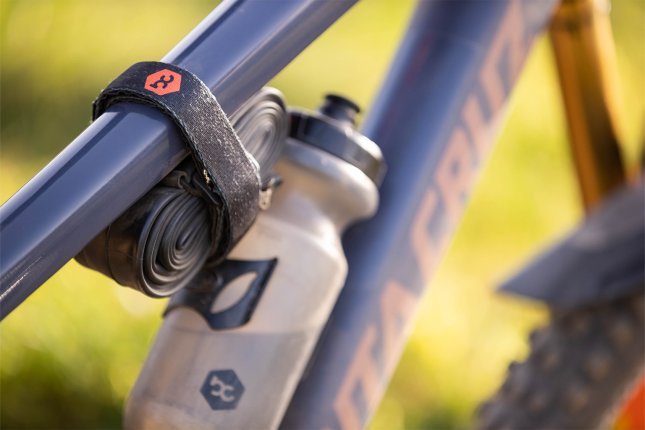
Tech nerds get almost as much fun from good tools as from the latest bike parts. But even if you’re not tech-savvy, it’s worth having a small selection of thoughtful and quality tools for the road. You can easily pack the essentials in a backpack or hip bag – or have them readily available on the bike. There are saddle bags and frame bags, holders, and integrated solutions. It’s important that in the rush and confusion of a breakdown, you know where to find the necessary tools.
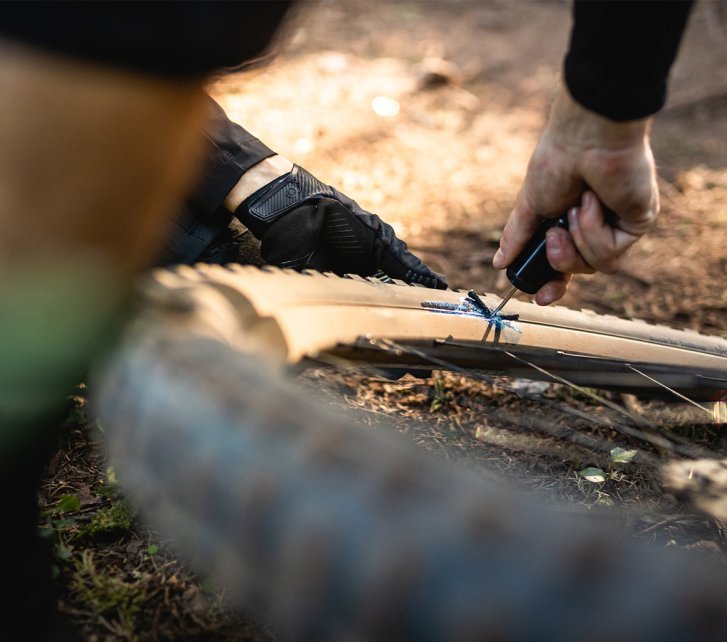
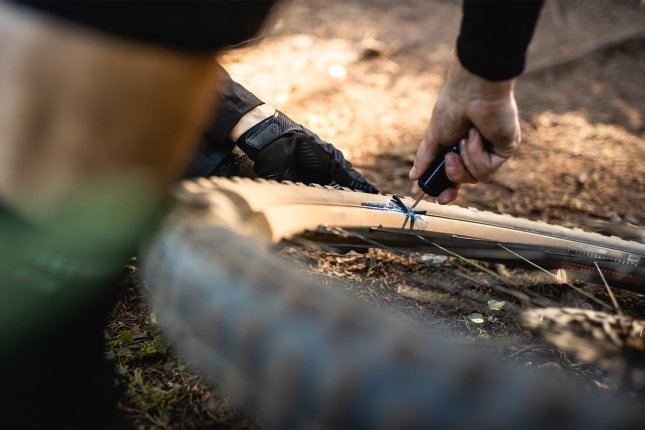
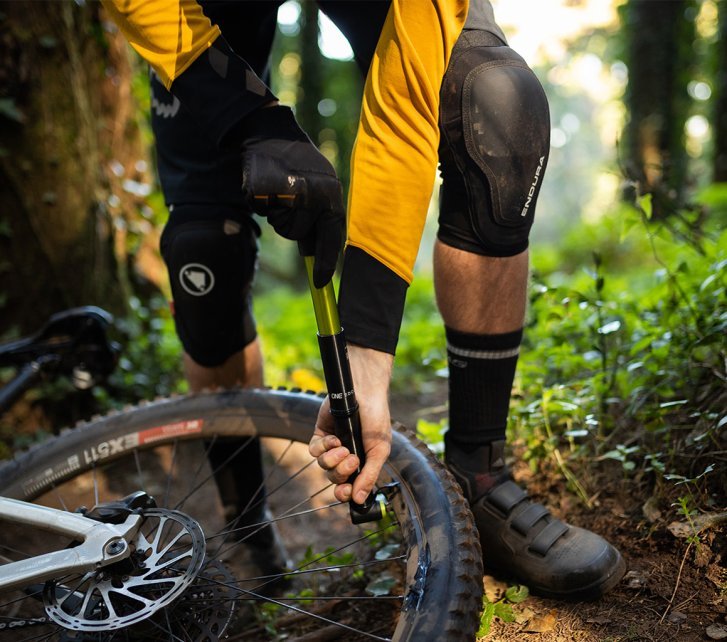
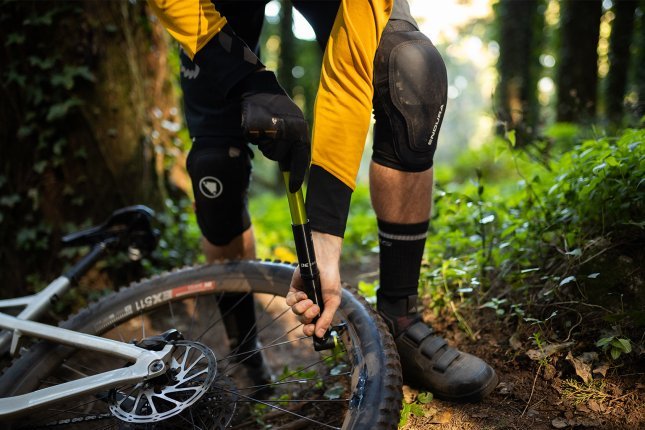
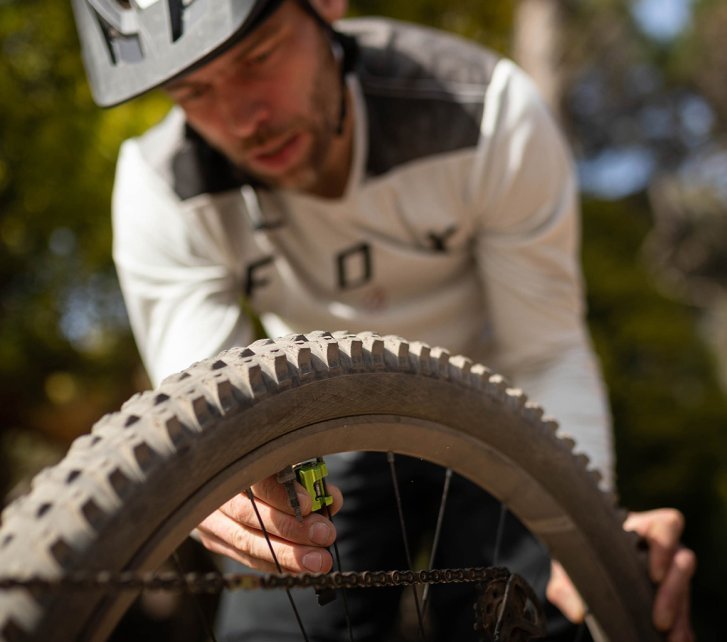
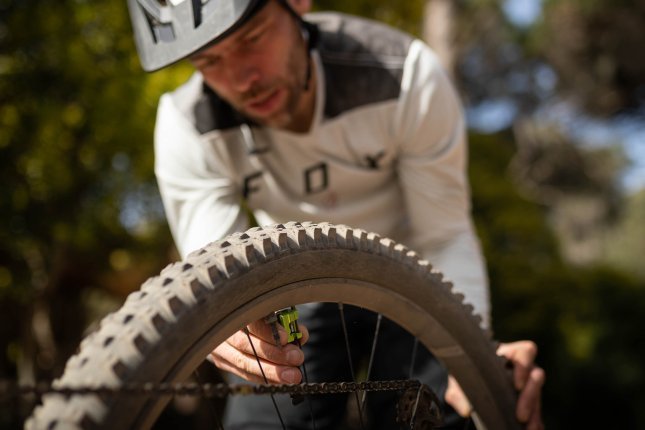
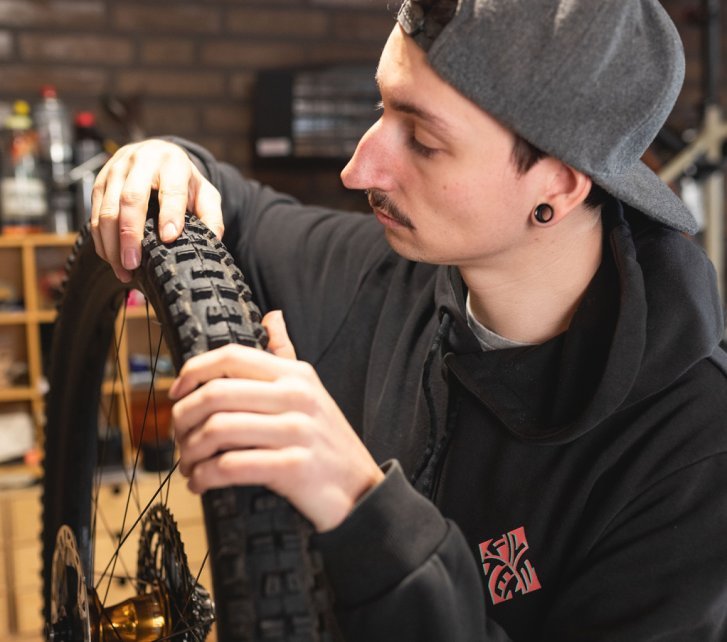
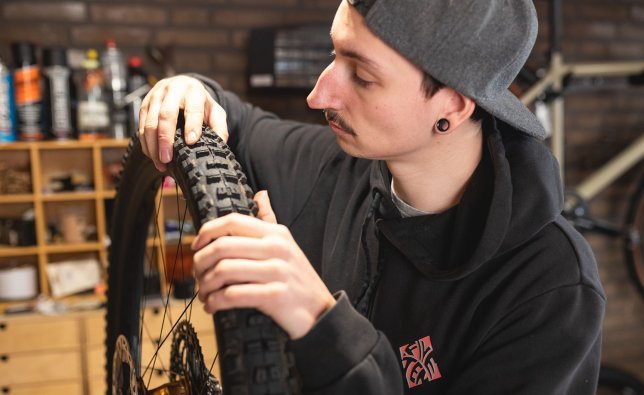
You've just cleared the infamous rock field at the end of the trail when you hear a short hiss and realize that your bike feels somewhat squishy on the ground. One of the sharp rocks has probably punctured your tire down to the rim, creating one or even two holes – no reason to panic though. If you're running tubeless, you'll quickly see where the tubeless sealant is leaking out. With a bit of luck, the damage is small enough that the sealant will seal it as you spin the wheel a few times. Then, all you need to do is pump back the air you lost and off you go. If that doesn't work, it's time to reach for the tubeless repair kit. With the small, sticky strips of fabric and rubber (often referred to as "worms" or "bacon strips" due to their appearance) and a tool that resembles an undersized pitchfork, you can directly plug the holes in the tire. After that, pump it back up to your ideal air pressure and carry on.
Sealant and tire repair kits are not only for punctures (snake bites) but also for piercings and cuts – as long as they're not too large. Tire punctures have become significantly less common with tubeless setups and in most cases are also much easier and quicker to repair. If that doesn't do the trick or if you're still riding with inner tubes, then you're left with the good old spare tube or patching the tube. For that, you can use a vulcanizing patch kit or self-adhesive patches. To ensure the tube holds air and doesn't immediately go flat again, make sure to check the tire for foreign objects (thorns, nails, shards, etc.) and remove them.
Then there's the slow leak: You notice air loss, but air isn't visibly, tangibly, or audibly escaping from the tire anywhere. This has driven many bikers mad. Our tip: Take a closer look at the valve. Is it tight and securely screwed onto the rim? Is the valve core tight and closed? If you haven't checked and replaced the tubeless sealant in a while, it could be that it has dried up and the tire is losing air through the smallest porous openings. If you're riding with an inner tube, it could be that a thorn has caused a tiny hole or that it has become porous. In case of doubt, a spare tube will also help here.
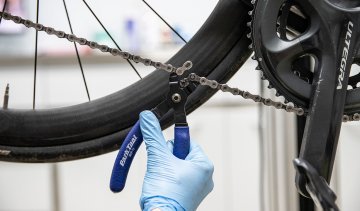
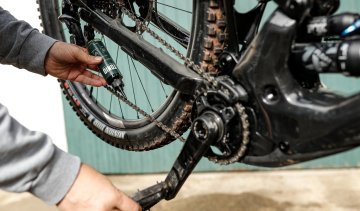
The uphill has been dragging for a while. Sweat is dripping down your face. It gets steeper, you shift, and suddenly you're pedaling into the void. Looking down, you see two ends of your chain dangling. A chain break often comes unexpectedly and always at inconvenient times. But the repair is usually quite simple if you have the right master link and a chain tool with you.
Looking at the two ends of the chain, you'll quickly see whether a link has snapped and gone missing or if pieces are still attached. If the latter is the case, you should remove them with the chain tool. To be able to reconnect the chain using the master link, both ends must have inner plates. Pay attention to the direction of the master link and make sure the chain is correctly threaded through the derailleur. Close the master link, and you're good to go.
If an inner link or more are damaged, you can shorten the chain. Be warned: This is only a temporary solution for getting home. With a shortened chain, you should avoid the use of your cassette's largest sprockets, as it could tear again or even damage the derailleur. You can prevent this by adjusting the derailleur's high limit screw to block those gears. At home, you should then install a new chain. How that's done, we'll show you in the blog: How to: Change a MTB chain.
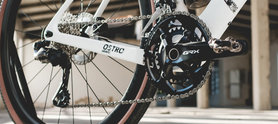
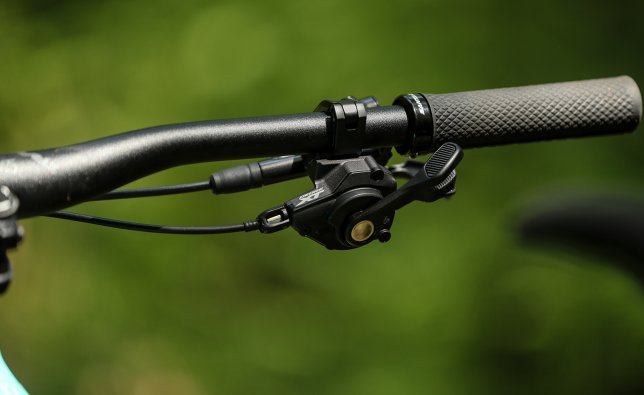
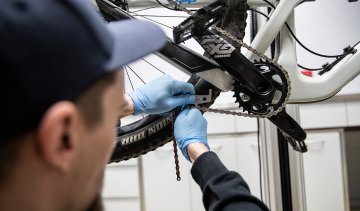
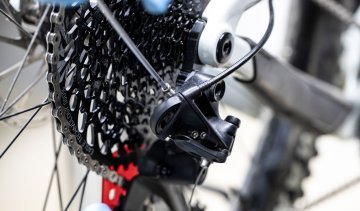
Click, click, click – You shifted, but the chain just clatters and rattles annoyingly without moving to the next sprocket. Often, this is quickly and easily fixed by adjusting the cable tension on the shifter. If the chain doesn't shift up to a larger sprocket, turn the adjustment screw (the knurled screw where the shift cable exits the lever) a bit in the direction of travel (outwards) and try shifting again. A quarter or half turn is often enough. If it doesn't shift down to a smaller sprocket, then you should turn in the opposite direction.
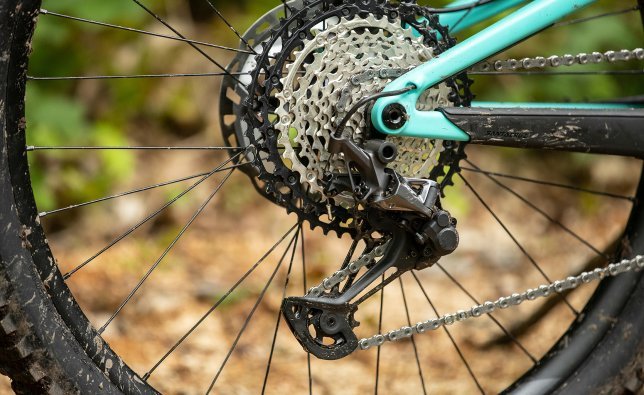
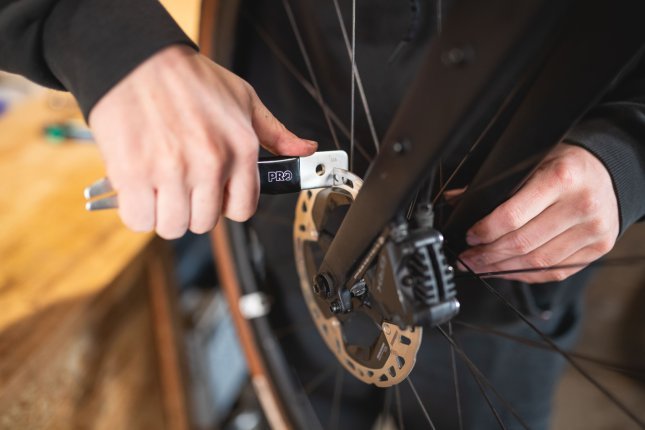
Other possible causes for shifting problems could be a loose derailleur or cassette. You can easily check if the derailleur is securely screwed to the frame's hanger with your multitool. To check the cassette, carefully grab the largest sprocket (possibly with a cloth) and see if it wobbles relative to the hub. If that's the case, you definitely need to tighten it.
After a crash, the derailleur hanger on your frame might be bent. This too leads to erratic shifting. A quick look from behind at the derailleur gives you an instant impression. The derailleur cage should stand vertically – parallel to the rear wheel. Be careful not to be confused by the spokes – they are angled and not vertical. If something is bent, you can try to carefully (!) bend it back. It won't be perfect, so be really careful. Afterwards, you can adjust the shifting as described above focusing on the gears in the middle of the cassette, and avoid the very large and small sprockets on the way home. At the next opportunity, you should replace the derailleur hanger and – if it's also damaged – the derailleur itself.
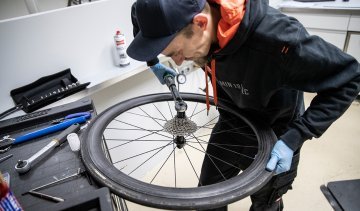
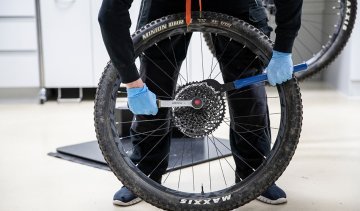
You might not even notice a spoke fracture right away. Maybe at some point, you spot a peculiar jingling in your wheel because the broken spoke is loosely dangling among its neighbors. A break can happen if the spoke tension in your wheel is too low or uneven. Then, the spokes wear out due to constant loading changes and gradually break. Involuntary contact with rocks can also weaken spokes enough for them to fail. The good news is that since disc brakes have become the norm, a single broken spoke isn't as big of a deal anymore since the wheel usually can still turn freely, even with a slight wobble – the infamous eight shape. However, you should still thread and remove the broken spoke from the hub, or if that's not possible: wrap it around a neighboring spoke so it doesn't swing uncontrollably. Otherwise, it could get caught somewhere and cause even more damage. At home, you should replace the spoke or have it replaced.
But what if the wobble after a spoke break (or for other reasons) is so severe that the tire rubs against the frame or fork? Then you can try to roughly true the wheel with the help of a spoke wrench (aka nipple spanner). You can read about how to do this elsewhere on the blog: How To: True a Wheel. If you brought a replacement spoke, now's the time to use it. You might need to remove the cassette to do so. Such a repair is more for the experienced tinkerers and requires not only the right tools but also some time. Once back home, but definitely before your next ride, you should check the repaired wheel again.
Modern, hydraulic MTB disc brakes are reliable and almost maintenance-free. Still, problems can occur along the way, some of which are easy to fix:
• Brake disc constantly rubbing: If your brake is permanently rubbing on one side, then realigning the brake caliper so that the disc sits precisely in the middle between the brake pads can help. Simply loosen the two screws that mount the brake caliper to the adapter, frame, or fork a bit. It's enough if the brake can move to the right and left. Now, hold the corresponding brake lever and screw the brake caliper back tight. Usually, that's all it takes. One reason for rubbing brake pads could be that the brake pistons are more sluggish on one side than the other. You can see this if you closely observe the pads, activate the brake, and one side moves less than the other. Then, find out from your brake's manufacturer how you can mobilize the pistons again.
• Bent brake disc: If the brake pads are not rubbing evenly but only at a specific point during a rotation of your wheels, then your disc is probably bent. This might happen, for example, after a crash. It's best to turn your bike upside down to more closely inspect the discs while slowly rotating the wheel. Remember the spot where the disc rubs and gently bend it in the opposite direction. To grasp it, you can use pliers. Alternatively, an adjustable wrench works too. Some multitools have a slot that's specifically meant for this purpose. Make sure no grease or oil gets on the disc. When bending the disc, proceed in small steps and repeatedly check if it rotates freely through the brake pads. Often a slight correction is enough.
• Worn brake pads: As soon as you suspect your brake pads might be worn (brake lever travels closer to the handlebar, metallic noises, and reduced braking power, etc.), you should take a closer look and replace them if in doubt. How exactly this is done varies from brake to brake. In almost all cases, you should consider two things: 1. Pushing back the pistons: This is best done while the old pads are still in. 2. The correct orientation of the new pads: Make sure to install the pads in the right direction and secure them correctly (with a locking screw or a pin).
If one of your brakes still doesn't have a pressure point or fails to deliver braking power for other reasons after considering our tips, you should abort your ride. You might be able to roll home carefully and slowly with one brake. In case of doubt, however, it's better to push, use public transport, or get picked up. The risk of an accident is not worth it.
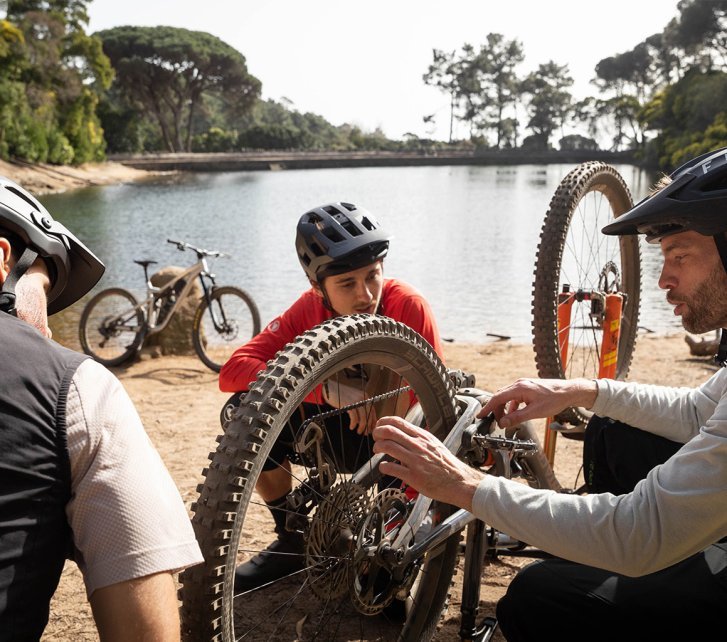
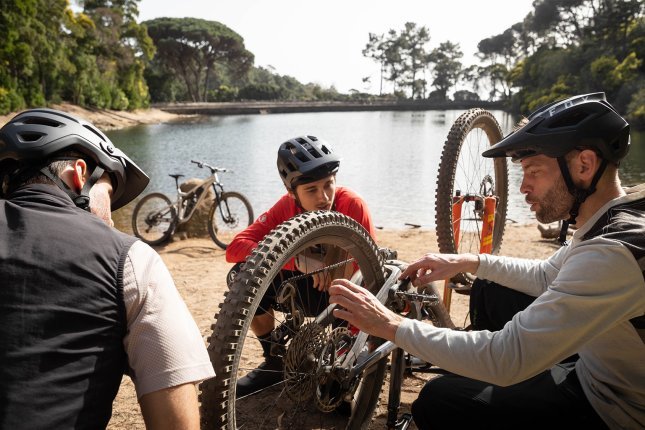
Even the most talented mechanic or the most creative tinkerer sometimes forgets a spare part or tool at home or reaches the limits of their knowledge. If this happens to you, just kindly ask other passing bikers for help. Most are happy to assist if they can. Conversely, you should always offer help if you see other mountain bikers struggling by the wayside. Additionally, knowing the area helps: There might be a bike shop nearby.
[Scene of a breakdown in the forest with several people working on it]
On the trail, there are situations where you just have bad luck, and then there are those you can actively prevent. If you regularly maintain your bike, you'll encounter problems less often. Loose or even lost screws can be avoided by regularly checking at home if everything is tight. The same goes for play in bearings, e.g., in the headset. If you notice worn brake pads in the workshop, you won't need to change them on the go.
Another advantage of a well-maintained and cared-for bike: If you do have a breakdown on the way, the repair will be easier and cleaner. If you regularly look after your MTB at home, it will also be more familiar to you, and breakdowns are less likely to unsettle you.
We've got inspiration and tips ready for you in two articles on the blog: How To: Inspecting Your Bicycle and Bike Care - How to Clean Your Bike.
Ready for the season? We’ll show you how to prepare your bike for the upcoming season and which parts require special attention.
Is the chain on your gravel or road bike worn out? Do you want to install a new one? With our how-to guide, replacing the chain is a piece of cake.
A cassette on a road bike or gravel bike can be changed quickly. We’ll show you how to replace the cassette with just two tools.
Is the chain on your MTB worn out? Do you want to fit a new one? No worries. We’ll explain how you can replace your chain on your bike.
Well-greased chains are smooth, quiet, and shift with precision. But which lubricant is the best? Here are some tips for proper chain care.
With the right tools, replacing the cassette on your MTB is a quick and easy task. We’ll show you how it’s done.
Whether you’re using Shimano or SRAM, adjusting the derailleur on a mountain bike or e-MTB is not difficult. With our tips, every gear will shift smoothly.


Send your unused goods back within 100 days after purchase and get your money back!
See more